How to Split Screen on Laptop Monitor
Introduction
Splitting your screen can revolutionize the way you work, enabling you to run multiple applications side by side without switching back and forth. Whether you're multitasking between spreadsheets, designing graphics, or following a tutorial, mastering the split screen technique on your laptop can significantly enhance productivity. This guide will help you understand the importance of split screen functionality and provide detailed, easy-to-follow instructions for both Windows and MacBook users. Additionally, we'll share tips to optimize your monitor setup and troubleshoot common issues.

What is Split Screen and Why You Need It?
Split screen functionality allows you to divide your laptop monitor into two or more sections, enabling you to view and interact with multiple windows simultaneously. This feature is particularly beneficial for those who multitask or work with multiple applications at once. For instance: - You can draft a document while referencing information from the web. - Designers can work on graphics while keeping source images in view. - Developers can code in one screen section while testing the output in another.
Understanding how to effectively use split screen can transform your workflow, making tasks more manageable and improving overall efficiency.

How to Split Screen on a Windows Laptop
Using Windows 10 Snap Assist
Snap Assist is a user-friendly feature in Windows 10 that helps you split your screen effortlessly. Here's how to use it: 1. Open the windows you want to split. 2. Click and hold the title bar of one of the windows, then drag it to the left or right edge of the screen until you see an outline indicating where it will snap. 3. Release the mouse button to snap the window. 4. Snap Assist will display your other open windows in thumbnails. Click the one you want to appear on the other side of the screen.
Keyboard Shortcuts for Splitting the Screen
Using keyboard shortcuts can save time and make screen splitting even easier:
1. Select the window you want to snap.
2. Press the Windows Key + Left Arrow to snap it to the left or Windows Key + Right Arrow to snap it to the right.
3. To further refine the layout, you can use Windows Key + Up Arrow or Windows Key + Down Arrow after snapping a window to move it into a quadrant, allowing a 4-window split.
Using Multiple Virtual Desktops
For a more organized workspace, Windows 10 allows the use of virtual desktops. Here's how:
1. Open the windows you want to use.
2. Press Windows Key + Tab to open Task View.
3. Click 'New Desktop' at the top left.
4. Drag and drop windows into the new desktop, or open new applications directly there.
Switch between desktops using Windows Key + Ctrl + Left/Right Arrow.
How to Split Screen on a MacBook
Just like with Windows, split-screen functionality on a Mac can greatly enhance productivity. However, the process is slightly different.
Using Mission Control for Split View
Mission Control is an intuitive tool on macOS: 1. Open the two apps you want to use. 2. Click and hold the green full-screen button in the top-left corner of one app window. 3. Select 'Tile Window to Left of Screen' or 'Tile Window to Right of Screen.' 4. From the screen that appears, click the window for the other app to fill the opposite side of the screen.
Keyboard Shortcuts on macOS
Keyboard shortcuts streamline your workflow in macOS as well:
1. Press Control + Up Arrow to enter Mission Control.
2. Use Control + Left/Right Arrow to switch between different virtual desktops where you've arranged your split screens.
Third-Party Apps for Advanced Splitting
Several third-party applications can offer more advanced splitting options: - Magnet: Allows you to snap windows by dragging them to the screen edges or using customizable shortcuts. - Moom: Lets you define specific window sizes and layouts for snapping windows efficiently.
Optimizing Your Monitor Setup
A well-optimized monitor setup can enhance the split screen experience and make multitasking even more effective.
Choosing the Right Monitor Layout
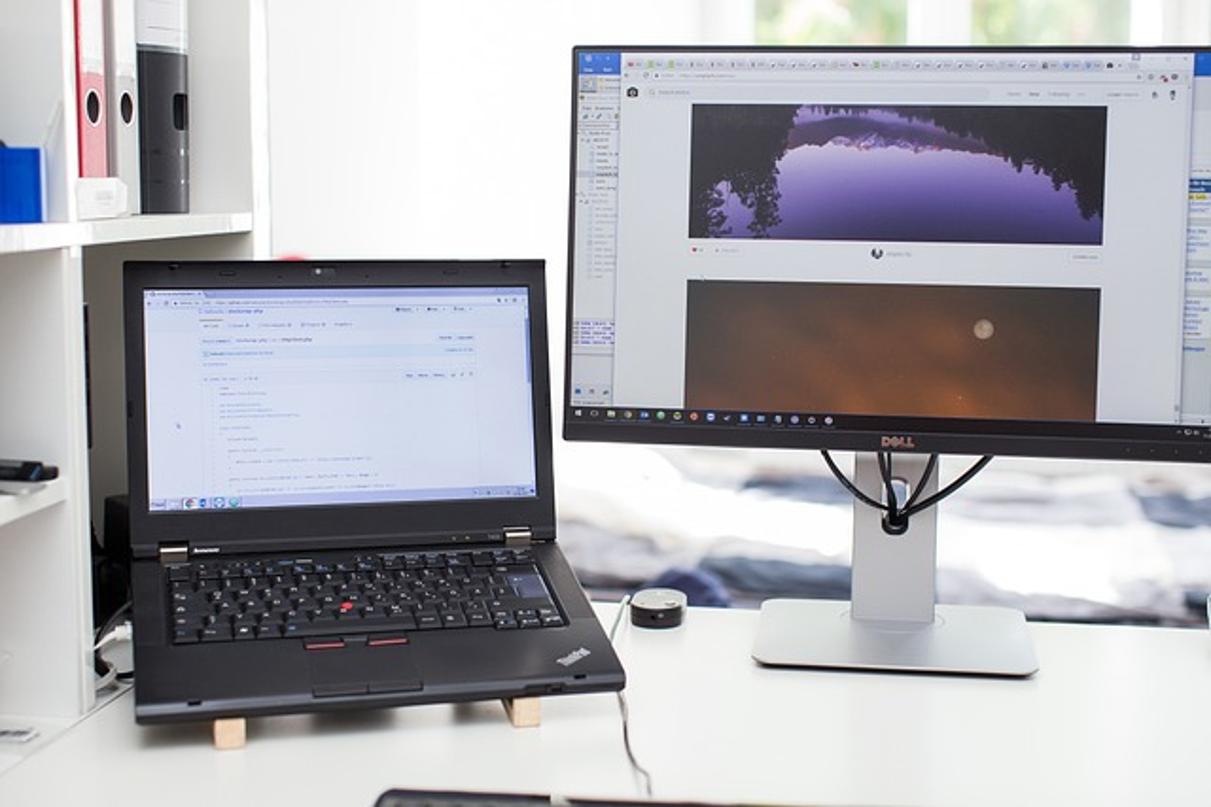
Consider your workspace and ergonomic needs. A larger monitor or an external display can make multitasking easier and more comfortable. Arrange your primary and secondary monitors to maintain a natural head and neck position, reducing strain and improving posture.
Adjusting Display Settings for Comfort
Ensure your display settings are adjusted for comfort: - Set the resolution to match the monitor's native capability for sharp text and images. - Adjust brightness and contrast to reduce eye strain. - Use night light or blue light filters during evening hours to prevent disruptions to your sleep cycle.

Troubleshooting Common Issues
While split screen is generally straightforward, you may encounter some issues that can hinder your productivity.
Screen Resolution Problems
If the split screen doesn't look right or seems unresponsive, check your screen resolution. Using a mismatched resolution can cause issues. Go to your display settings and adjust the resolution to its recommended setting.
Fixing Unresponsive Split Screen
If split screen features do not work, try rebooting your system. Ensure your operating system is updated, as updates often fix bugs and compatibility issues. Additionally, confirm that the split screen feature is enabled in your system settings.
Tips and Tricks for Enhanced Productivity
Boost your productivity with these tips and tricks for using split screen more effectively.
Shortcut Cheat Sheet
Keep a cheat sheet of keyboard shortcuts visible to speed up your workflow. For Windows, Windows Key + Arrow Keys is essential. For macOS, commit Control + Arrow Keys to memory. These shortcuts can significantly reduce the time spent arranging windows and enhance your multitasking capabilities.
Apps to Support Multitasking
Utilize productivity apps that complement split screen: - Trello for task management. - Slack for communication. - Evernote for note-taking and organization.
Integrating these apps with split screen can further enhance your multitasking capability, allowing you to seamlessly manage tasks, communicate with your team, and organize your notes all at once.
Conclusion
Mastering the split screen technique on your laptop can dramatically improve your multitasking ability and workflow efficiency. Whether you're using a Windows laptop or a MacBook, the methods outlined in this guide can help you seamlessly manage multiple windows, utilize keyboard shortcuts, and troubleshoot common issues. Optimize your display settings and explore productivity apps to further enhance your experience. Embrace these tips, and watch your productivity soar.
Frequently Asked Questions
Can I split my screen across multiple monitors?
Yes, you can extend your desktop across multiple monitors and then use split-screen features on each monitor individually.
Why is my split screen feature not working on Windows?
Ensure your system is updated and check if Snap Assist is enabled in system settings. Restart your laptop if the issue persists.
How to adjust the size of each window in split screen?
On Windows, drag the divider between the windows to resize. On macOS, click and drag the vertical line separating them.


